LAMP, short for Linux, Apache, MySQL, and PHP is a commonly used stack for delivering web applications. In this guide we’ll be showing how you can setup a LAMP Stack in Ubuntu 22.04.
L– Linux the operative systemA– Apache web-server. Serves web assets and processes requests.M– MySQL, the database to store all the information needed for the web application(s).P– The scripting language that with along Apache we can easily create dynamic web pages.
Setting up a LAMP Stack in Ubuntu 22.04
This guide we will be focusing on Ubuntu 22.04 as its the newest release, some packages installed or indicated in this guide might or might no be compatible with older versions of ubuntu.
Prerequisites
- VPS or server – In our case we’ll be using a high-performance VULTR VPS.
- An user with
sudoprivileges so that we are able to install the necessary packages. In our case we’ll be using therootuser. - Update and upgrade packages with
sudo apt-get update && apt-get upgrade
Installing Apache
Apache up until recently it was the most used web server and by default its already included in Ubuntu’s repositories:
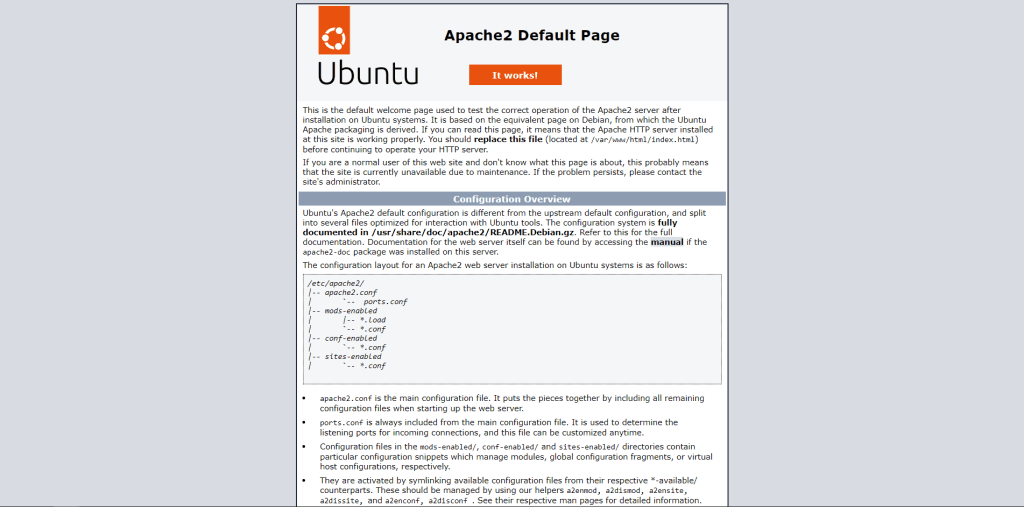
sudo apt-get install apache2 -yOnce installed you should be able to see the apache default page once you visit the IP of your server:

That’s it! You now have apache web server installed on your machine.
MySQL
MySQL is also included on Ubuntu’s repositories, so we just have to run the following command to install it:
sudo apt install mysql-server -yOnce installed it is recommended to improve the security of MySQL by running the mysql_secure_installation command:
sudo mysql_secure_installationroot@linuxify:~# sudo mysql_secure_installation
Securing the MySQL server deployment.
Enter password for user root:
VALIDATE PASSWORD COMPONENT can be used to test passwords
and improve security. It checks the strength of password
and allows the users to set only those passwords which are
secure enough. Would you like to setup VALIDATE PASSWORD component?
Press y|Y for Yes, any other key for No: N
Using existing password for root.
Change the password for root ? ((Press y|Y for Yes, any other key for No) : N
... skipping.
By default, a MySQL installation has an anonymous user,
allowing anyone to log into MySQL without having to have
a user account created for them. This is intended only for
testing, and to make the installation go a bit smoother.
You should remove them before moving into a production
environment.
Remove anonymous users? (Press y|Y for Yes, any other key for No) : y
Success.
Normally, root should only be allowed to connect from
'localhost'. This ensures that someone cannot guess at
the root password from the network.
Disallow root login remotely? (Press y|Y for Yes, any other key for No) : y
Success.
By default, MySQL comes with a database named 'test' that
anyone can access. This is also intended only for testing,
and should be removed before moving into a production
environment.
Remove test database and access to it? (Press y|Y for Yes, any other key for No) : y
- Dropping test database...
Success.
- Removing privileges on test database...
Success.
Reloading the privilege tables will ensure that all changes
made so far will take effect immediately.
Reload privilege tables now? (Press y|Y for Yes, any other key for No) : y
Success.
All done!
root@linuxify:~#
Solving the Failed! Error: SET PASSWORD has no significance for user ‘root’@’localhost’ Error
If you encounter that error, open a new terminal and kill the mysql_secure_installation process and then run the following set of commands:
sudo killall -9 mysql_secure_installationsudo mysql #manage databases and users
ALTER USER 'root'@'localhost' IDENTIFIED WITH mysql_native_password by 'NEW_PASSWORD'; # We alter (modify) the root user and assign the user a new password. Change NEW_PASSWORD for your desired password.
FLUSH PRIVILEGES;
exit;With these set of commands now we are able to re-run the mysql_secure_installation once again.
PHP
Similarly to Apache and MySQL, by default the Ubuntu repositories already have PHP 8.1 on them:
sudo apt install php8.1 libapache2-mod-php php-mysql php8.1-opcache php8.1-cli php8.1-gd php8.1-curl php8.1-mysql php8.1-gd Then, let’s restart apache:
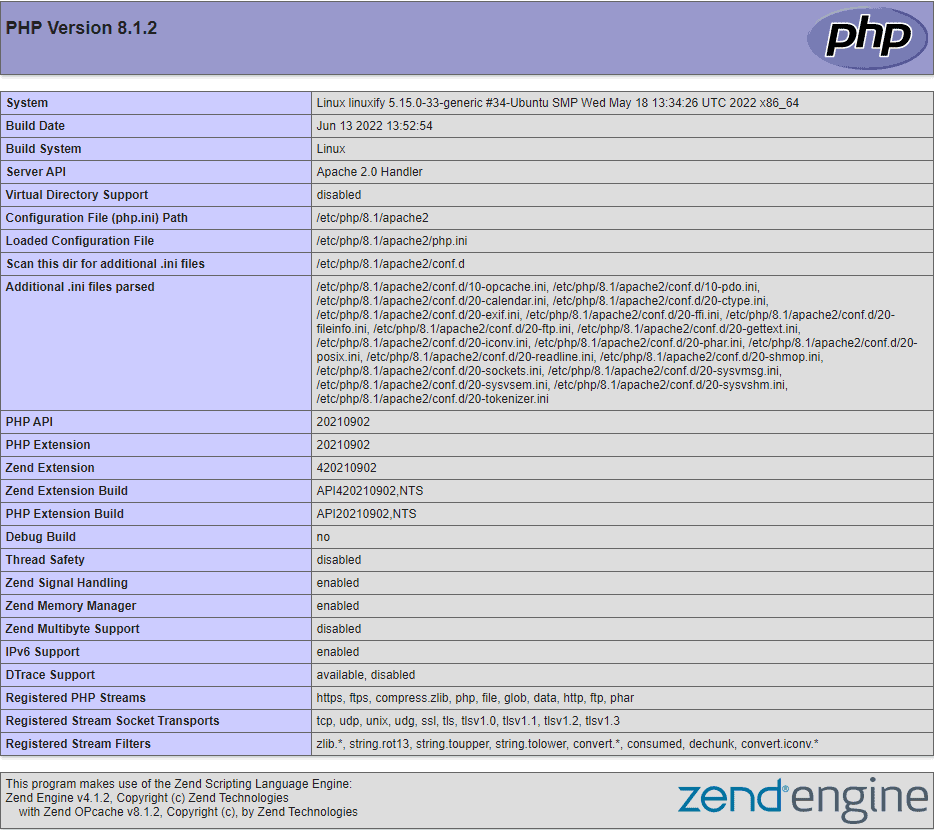
sudo systemctl restart apache2Now, to verify we have setup PHP correctly, let’s create a phpinfo(); page:
echo '<?php phpinfo(); ?>' > /var/www/html/phpinfo.phpThen let’s navigate to that page, in our case: linuxify.dev/phpinfo.php

And that’s it! You have successfully set up your LAMP stack!
Summary
This guide showed you how to install a basic LAMP stack in Ubuntu 22.04 along with fixing the common SET_PASSWORD for the root user when running the mysql_secure_installation process.